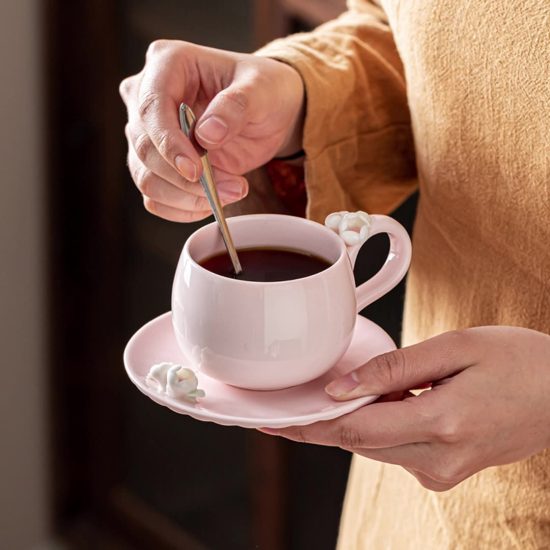
Making your own ceramic cups through DIY pottery can be a rewarding and creative endeavor. Here’s a general overview of the process:
- Gathering Materials and Tools:
- Clay: Choose a clay suitable for pottery, such as earthenware, stoneware, or porcelain. Purchase it from a pottery supply store.
- Pottery Tools: Acquire basic pottery tools like a pottery wheel (optional), clay modeling tools, a rolling pin, a wire cutter, a sponge, and a kiln (for firing the cups).
- Glazes and Brushes: Select glazes in the colors and finishes you desire, along with appropriate brushes for applying the glazes.
- Preparation:
- Wedge the Clay: Knead the clay to remove air bubbles and ensure a consistent texture. This process is called wedging and helps prepare the clay for throwing or hand-building.
- Set Up Your Workspace: Prepare a clean, well-lit area to work with clay. Cover your work surface with canvas or plastic to prevent sticking.
- Throwing (On a Pottery Wheel) or Hand-Building:
- Throwing: If you have a pottery wheel, center a piece of clay on it and shape it with your hands while the wheel spins. Use your fingers and hands to shape the clay into a cup form, gradually adding height and width.
- Hand-Building: Alternatively, you can create cups without a pottery wheel. Roll out a slab of clay using a rolling pin and cut out shapes using templates. Assemble and shape the pieces to create cups.
- Trimming and Finishing:
- Trimming (Optional): If you threw your cups on a pottery wheel, you can trim the excess clay at the bottom to refine the shape and create a foot for the cup.
- Smoothing and Detailing: Use tools to refine the shape, smooth the surfaces, and add any desired details or textures to the cups. Pay attention to the rim, handle (if applicable), and overall aesthetics.
- Drying and Bisque Firing:
- Let the cups dry gradually in a controlled environment to prevent cracking. This may take several days to a week, depending on the thickness of the clay.
- Once dry, bisque fire the cups in a kiln. Follow the manufacturer’s instructions for firing temperature and duration. Bisque firing strengthens the clay and prepares it for glazing.
- Glazing and Final Firing:
- Apply glazes to your cups using brushes or dipping techniques. Experiment with different colors and techniques to achieve your desired finish.
- Allow the glaze to dry, then fire the cups in the kiln again to the appropriate temperature for the chosen glaze. This final firing will transform the glazes into their finished state.
- Enjoy and Use:
- Once the cups have cooled, they are ready to be used and enjoyed. Wash them before use to remove any residual dust or glaze particles.
Keep in mind that pottery making is a skill that requires practice and patience. It is advisable to take pottery classes or seek guidance from experienced potters to improve your technique and gain a deeper understanding of the craft.


